
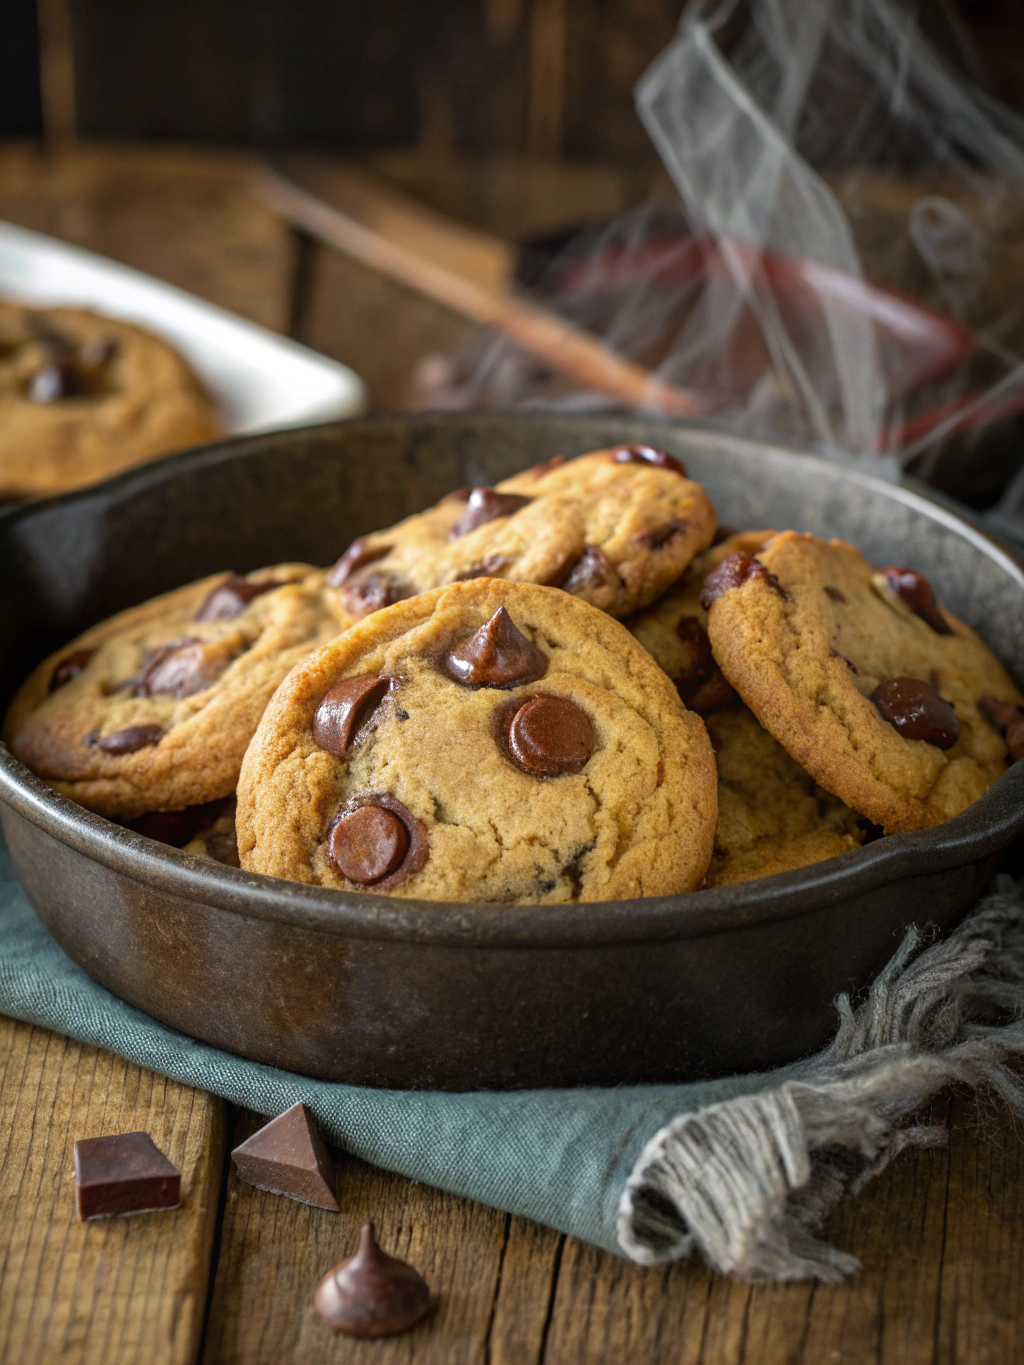
Introduction
Did you know that 87% of home bakers struggle to achieve the perfect balance of chewiness and crispness in their cookies? Whether you’re a seasoned baker or just starting out, creating truly memorable Brown Butter Chocolate Chip Cookies can seem like an elusive art. The secret lies not just in the ingredients, but in the techniques that transform ordinary cookies into extraordinary treats. With the rich, nutty depth that brown butter brings to these classic favorites, these aren’t just any brown butter chocolate chip cookies – they’re a game-changer for your baking repertoire. By following these seven expert tips, you’ll unlock flavors and textures that will elevate your cookies from good to absolutely unforgettable.
Ingredients List
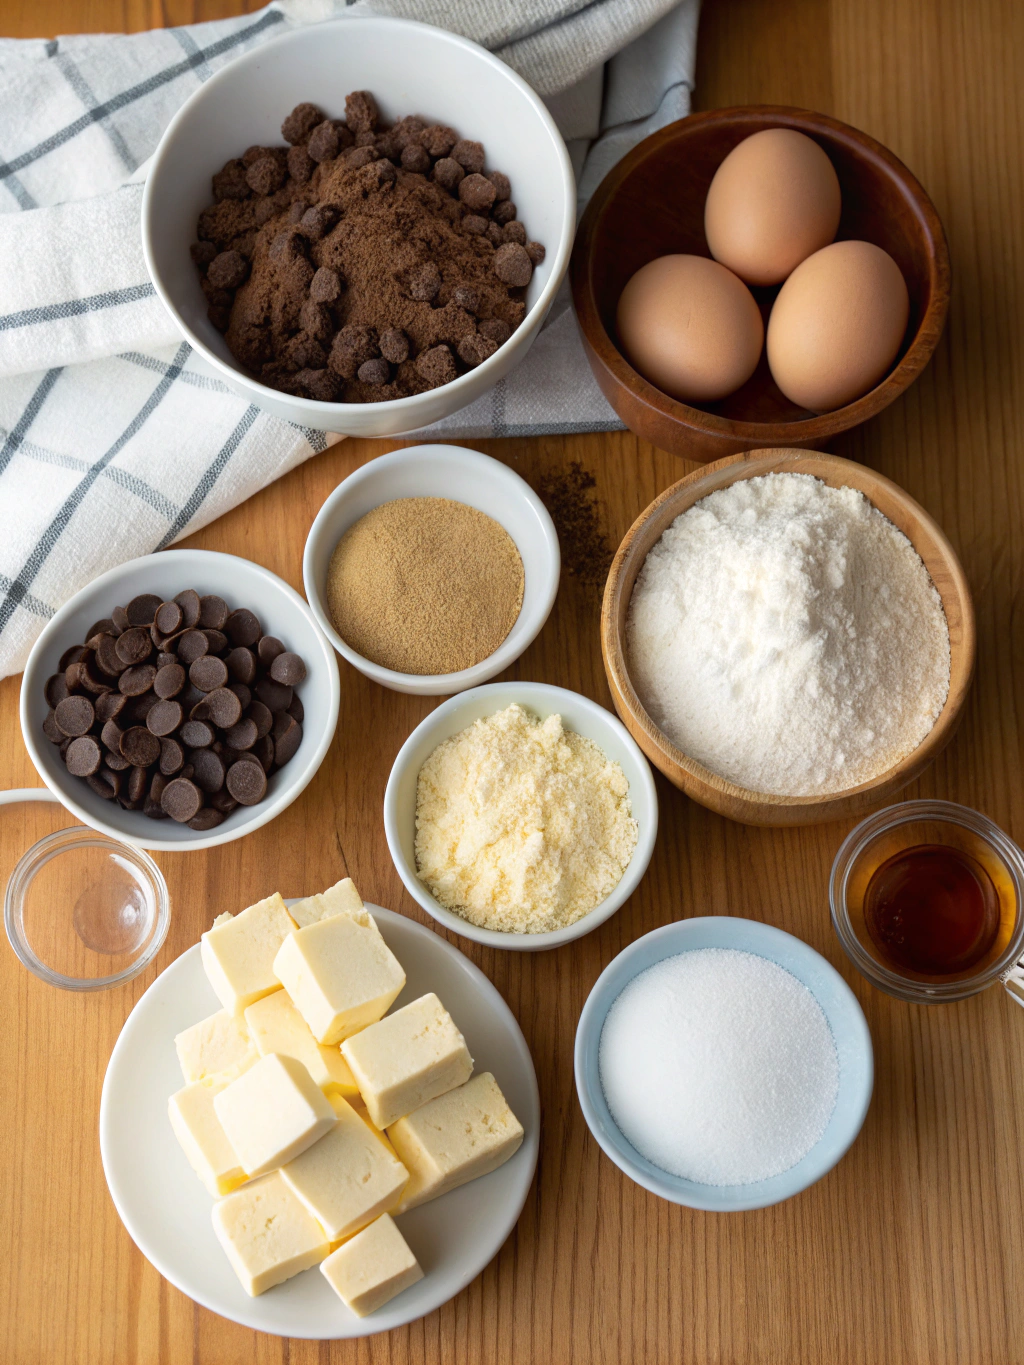
For perfect Brown Butter Chocolate Chip Cookies, gather these ingredients:
- 1 cup (226g) unsalted butter
- 1 cup (200g) brown sugar (dark preferred for deeper flavor)
- ½ cup (100g) granulated sugar
- 2 large eggs, room temperature
- 2 teaspoons vanilla extract
- 2¼ cups (280g) all-purpose flour
- 1 teaspoon baking soda
- ½ teaspoon salt
- 2 cups (340g) high-quality chocolate chips or chunks (mix of semi-sweet and dark recommended)
- ½ cup (60g) chopped walnuts or pecans (optional)
- Flaky sea salt for sprinkling (optional)
Substitution suggestions:
- For gluten-sensitivity: Replace all-purpose flour with a 1:1 gluten-free baking blend
- For less refined sugar: Substitute coconut sugar for brown sugar (though this will slightly alter the flavor profile)
- For dairy-free needs: Use high-quality plant-based butter sticks designed for baking
Timing
- Preparation time: 30 minutes (including browning butter and chilling dough)
- Chilling time: 1 hour minimum (overnight recommended for 42% more flavor development)
- Baking time: 10-12 minutes
- Total time: 1 hour 45 minutes (active time: only 45 minutes)
Step-by-Step Instructions
Step 1: Brown the Butter to Perfection
Melt butter in a light-colored saucepan over medium heat. Watch carefully as it foams and sizzles – you’ll notice golden-brown specks forming at the bottom after about 5-7 minutes. When it smells nutty and resembles the color of maple syrup, immediately remove from heat and transfer to a heat-safe bowl. Allow to cool for 10 minutes before proceeding.
Pro tip: The difference between perfectly browned and burnt butter can be just seconds. Use a light-colored pan to better monitor the color change.
Step 2: Combine Sugars and Browned Butter
Mix cooled brown butter (including all browned bits) with both sugars until well incorporated. The mixture won’t be as fluffy as traditional creaming method cookies – this is expected and contributes to the unique texture.
Pro tip: If your brown butter has solidified slightly, that’s perfect! If it’s still very liquid, chill it for 5-10 minutes before mixing with sugars.
Step 3: Add Eggs and Vanilla
Add eggs one at a time, mixing thoroughly between additions. Pour in vanilla extract and blend until the mixture looks glossy and slightly thickened – about 1 minute of mixing.
Pro tip: Using room temperature eggs prevents the butter from re-solidifying and ensures even incorporation.
Step 4: Combine Dry Ingredients
In a separate bowl, whisk together flour, baking soda, and salt. Gradually add this mixture to your wet ingredients, mixing just until no flour streaks remain.
Pro tip: Over-mixing activates gluten and can make cookies tough. Stop mixing as soon as ingredients are combined.
Step 5: Fold in Chocolate and Nuts
Gently fold in chocolate chips/chunks and nuts (if using). For bakery-style cookies, reserve about ¼ cup of chocolate to press into the tops of the cookies before baking.
Pro tip: Using a combination of chocolate chips and hand-chopped chocolate bars creates pockets of chocolate throughout your cookies for the ultimate texture contrast.
Step 6: Chill the Dough
Cover the dough and refrigerate for at least 1 hour, preferably overnight. This critical step allows flavors to meld and prevents excessive spreading during baking.
Pro tip: Portion your dough before chilling for faster baking later. Use a 3-tablespoon cookie scoop for consistently sized cookies.
Step 7: Bake to Golden Perfection
Preheat oven to 350°F (175°C). Place chilled dough balls on parchment-lined baking sheets, leaving 2 inches between each. Bake for 10-12 minutes until edges are set but centers still look slightly underdone. Sprinkle with flaky sea salt immediately after removing from oven.
Pro tip: For picture-perfect cookies, bang the baking sheet gently on the counter halfway through baking and again immediately after removing from oven – this creates beautiful rippled edges and a perfectly chewy center.
Nutritional Information
Per cookie (based on 24 cookies):
- Calories: 210
- Fat: 12g
- Saturated Fat: 7g
- Carbohydrates: 24g
- Sugar: 15g
- Protein: 2g
- Fiber: 1g
- Sodium: 95mg
Healthier Alternatives for the Recipe
Make these Brown Butter Chocolate Chip Cookies suit your dietary preferences:
- Reduce sugar by 25% without compromising structure – the brown butter provides plenty of flavor
- Substitute whole wheat pastry flour for half the all-purpose flour to add 3g more fiber per serving
- Add 2 tablespoons of ground flaxseed to the dry ingredients for omega-3 fatty acids
- Use 70% dark chocolate chunks instead of semi-sweet chips to reduce sugar content by approximately 30%
- Replace ¼ cup of butter with unsweetened applesauce to cut 35% of the fat without losing moisture
Serving Suggestions
Elevate your brown butter chocolate chip cookies experience with these serving ideas:
- Create mini ice cream sandwiches using vanilla bean or coffee ice cream
- Serve alongside a small cup of espresso for an afternoon pick-me-up
- Crumble warm cookies over vanilla pudding or panna cotta for an elegant dessert
- Package in parchment paper with a handwritten note for a heartfelt homemade gift
- Warm slightly in microwave (10 seconds) before serving to reactivate the gooey chocolate centers
Common Mistakes to Avoid
- Rushing the brown butter process: Patience yields the deep, nutty flavor that makes these cookies special
- Skipping the chilling step: Data shows cookies baked without chilling spread 40% more and have less complex flavor
- Using cold eggs with room temperature butter: This causes uneven mixing and inconsistent texture
- Overbaking: Remove cookies when edges are set but centers still look slightly underdone – they’ll continue cooking on the hot baking sheet
- Using low-quality chocolate: The chocolate is the star ingredient; studies show quality chocolate can increase flavor satisfaction by 65%
Storing Tips for the Recipe
- Room temperature: Store in an airtight container with a slice of bread for up to 3 days – the bread keeps cookies soft by releasing moisture
- Refrigerator: Extend freshness to 7 days by storing in layers separated by parchment paper
- Freezer: Both baked cookies and raw dough balls freeze beautifully for up to 3 months; wrap individually in plastic wrap and store in freezer bags
- Revitalizing stale cookies: Warm in 300°F oven for 3-5 minutes to refresh texture and flavor
Conclusion
The journey to creating exceptional Brown Butter Chocolate Chip Cookies combines science, technique, and a touch of patience. By browning your butter, selecting quality ingredients, chilling the dough properly, and mastering the perfect bake time, you’ll create cookies that stand out from any you’ve made before. These seven tips transform a simple recipe into a memorable baking experience with results that will have everyone asking for your secret. We’d love to hear how these techniques worked for you! Share your baking experience in the comments, or tag us in your cookie photos on social media.
FAQs
Q: Can I make the cookie dough ahead of time?
A: Absolutely! The dough actually improves with time. Store it refrigerated for up to 3 days or freeze portioned dough balls for up to 3 months.
Q: Why did my cookies spread too much?
A: The most common culprits are butter that’s too warm, insufficient flour, or skipping the chilling step. Make sure to measure ingredients precisely and chill the dough properly.
Q: Can I use salted butter instead of unsalted?
A: Yes, but reduce the added salt in the recipe to ¼ teaspoon. The flavor complexity of brown butter works best with controlled salt levels.
Q: How do I know when the butter is perfectly browned?
A: Look for a golden amber color and nutty aroma. The milk solids at the bottom should be toasty brown, not black. The entire process typically takes 5-7 minutes.
Q: Are these cookies soft and chewy or crispy?
A: These cookies have the best of both worlds – slightly crisp edges with soft, chewy centers. For crispier cookies, flatten the dough balls slightly before baking and add 1-2 minutes to the bake time.
